language

Search

 中文简体
 English
 Español
 عربى
 Indonesia

Inquiry Now 
Content
Yes. Cracked PVC leather can be repaired when the damage is limited to the surface film and the PVC layer, and when the textile backing underneath is still intact. A durable repair follows four stages in a fixed order: classify the damage, degrease the surface, rebuild the lost material with a flexible filler, and seal the area with a flexible, color-matched top coat. The repair restores appearance and surface protection. It does not return the plasticizer that has already migrated out of the material, which is why the grade of the original material still decides how long any repaired area lasts.
PVC synthetic leather is a coated textile. Its resistance to cracking depends on how the layers are formulated and bonded, so any repair decision starts with knowing which layer has failed.
| Layer | Typical composition | Function | Typical failure |
|---|---|---|---|
| Top coat | Polyurethane or acrylic finish, sometimes cross-linked | Controls gloss, touch, stain and abrasion resistance | Wear-through, peeling, loss of sheen |
| Skin layer | Dense PVC plastisol with pigment | Carries color and embossed grain | Crazing, color fade, hardening |
| Foam or body layer | PVC plastisol with plasticizer, stabilizers, and blowing agent | Provides thickness, softness, and cushioning feel | Plasticizer loss, shrinkage, stiffening |
| Adhesion layer | PVC or PU based bonding coat | Locks the coating to the textile | Delamination, bubbling |
| Base fabric | Knitted, woven, or non-woven polyester or cotton blend | Supplies tensile strength and tear resistance | Tearing, thread break, seam pull-out |
The base fabric determines whether a repair is possible at all. Surface layers can be rebuilt with fillers and coatings, but a torn or rotted textile has nothing for a filler to anchor into. For that reason, inspection of the reverse side is part of every professional assessment.
Cracks do not appear without cause. Six mechanisms act on PVC leather, usually in combination. Identifying the dominant one tells you whether a repair will hold and where the next failure is likely to appear.
Plasticizers keep PVC chains mobile and soft. Heat, long contact with other plastics, and body oils pull them toward the surface, where they evaporate or transfer. The PVC layer then stiffens and shrinks.
Sunlight and sustained heat break down PVC chains and release hydrogen chloride, which accelerates further degradation unless heat stabilizers and UV absorbers are present in sufficient quantity.
Warm, humid environments attack the polyurethane top coat and the adhesion layer, causing surface tackiness, flaking, and loss of bond to the PVC layer.
Repeated bending at armrest edges, seat bolsters, and seams concentrates stress in the same lines. Micro-cracks form there first and then propagate.
Solvents, hand sanitizer with high alcohol content, cosmetics, and some cleaning agents extract plasticizer or soften the top coat, leaving a dull, chalky surface.
Below the material's rated cold-crack temperature, the PVC layer loses elasticity and can fracture along bending lines during first use after storage.
Relative contribution of aging factors to surface cracking (illustrative, indoor furniture versus vehicle interior)
Examine the damaged area under bright, angled light. Bend the surface gently and check whether the line opens, whether the edge lifts, and whether the textile is visible. Four patterns cover most cases.
A fine web of lines that does not open when bent. The surface feels slightly rough and looks duller than surrounding areas. The damage sits in the top coat and skin layer.
Whitish marks with little depth, caused by abrasion. The PVC layer is intact, so cleaning and color restoration are usually enough.
Curled flakes along edges and creases, with a lighter or matte layer exposed underneath. The bond between the surface film and PVC layer has failed.
Gaps that reach or pass through the textile. The surrounding material is typically stiff, and the edge is sunken or rolled inward.
| Damage type | Diagnostic sign | Repair route | Working time | Cure time |
|---|---|---|---|---|
| Light crazing | Fine lines, no flaking | Clean, wet-sand, recolor, seal | 1-2 hours | 12-24 hours |
| Scuffs and light scratches | Whitish marks, no depth | Clean, restore color, seal | 30-60 minutes | 12-24 hours |
| Peeling top coat | Curled flakes, exposed lower layer | Clean, remove flakes, feather edge, fill, recolor, seal | 2-4 hours | 24 hours |
| Deep cracks | Gap reaching the textile | Back patch, layered fill, texture, recolor, seal | 4-6 hours | 24-48 hours |
| Tear or hole | Broken edge, textile visible | Back-side patch, fill, texture, recolor, seal | 4-6 hours | 24-48 hours |
Most early repair failures trace back to contamination between the substrate and the new coating. Wax, silicone polish, body oil, and detergent residue prevent any filler or paint from bonding to PVC. Preparation is therefore a functional part of the repair process and not an optional step.
| Agent | Use on PVC leather | Reason |
|---|---|---|
| Neutral dish soap and warm water | Recommended | Removes oils and dust without attacking the top coat |
| Vinyl-specific cleaner | Recommended | Formulated to avoid plasticizer extraction |
| Diluted isopropyl alcohol (about 50%) | Limited use after testing | Dissolves silicone and wax residue; may lighten some finishes |
| Vinegar solution | Not advised | Mild acidity can dull the surface finish |
| Baking soda paste | Not advised | Abrasive enough to leave micro-scratches |
| Bleach, acetone, nail polish remover | Never | Dissolve plasticizer and soften the coating |
| Cooking oil, baby oil, petroleum jelly | Never before repair | Sits on the surface, blocks adhesion, attracts dust |
The same neutral routine applies after the repair. Our cleaning and maintenance guide for PU/PVC synthetic leather describes the full routine for daily care.
Work at 18 to 25 °C with moderate humidity. Cold or damp conditions slow the cure of fillers and top coats, while heat can cause foaming or surface wrinkling. Lay the item flat where possible, and mask the surrounding surface with low-tack tape so the repair boundary stays clean.
Estimated working time by repair level
The repair material must be as flexible as the substrate. A rigid product bonded to a flexing surface concentrates stress at its edge and creates a new crack line. The table below lists the materials in a complete repair set and the property that matters for each.
| Material | Role | Key selection criterion |
|---|---|---|
| Flexible vinyl filler | Rebuilds lost material | Remains elastic after cure; made for vinyl or leather |
| Water-based leather paint or color restorer | Restores color | Flexible film, good adhesion to PVC, thin-coat application |
| Top coat or sealer | Protects repaired area | Matches original gloss; UV stable for vehicle use |
| Wet and dry sanding papers, 400 to 2000 grit | Levels transitions | Fine progression avoids visible scratch lines |
| Texture pad or stipple sponge | Reproduces grain | Choose a pattern close to the original emboss |
| PVC-compatible flexible adhesive | Bonds patches and flakes | Flexible cured film; avoid cyanoacrylate on finished surfaces |
| Low-tack masking tape | Protects surrounding area | Removes without lifting the top coat |
| Silicone-free cloths, sponge, spatula | Application | Silicone contamination prevents coating adhesion |
Test color mixes on a hidden area and allow them to dry fully before judging, since most water-based colors shift slightly as they cure. Build the shade in thin layers rather than adding pigment to a thick coat.
Most original PVC leather finishes sit near satin. Test matte, satin, and gloss top coats separately. Two thin coats of satin read as a factory finish under most lighting.
Grain depth and pattern determine whether a repair is visible from an angle. Press texture into the last filler layer while it is still workable, and recheck under side lighting.
| Error | Visible symptom | Cause | Prevention |
|---|---|---|---|
| Cyanoacrylate glue as a filler | Glossy hard line, new crack at the edge | Rigid cure and shrinkage; heat softens nearby plasticizer | Use flexible PVC adhesive and filler |
| Automotive body filler | Cracking within weeks | Filler is rigid; substrate flexes | Use filler rated for vinyl or leather |
| Wall or craft paint | Paint fractures on first use | Film cannot follow substrate movement | Use flexible water-based leather paint |
| Incomplete degreasing | Delamination of the new coat | Oil or silicone blocks bonding | Follow the full cleaning protocol |
| Single thick fill layer | Sunken, shrunken repair | Volume shrinkage during cure | Build in thin layers, sand between layers |
| Heat gun on high | Dark, hard patch | Plasticizer drawn out; top coat scorched | Use lowest setting and keep moving |
| Thick color coat | Cracking of paint film | Film too thick to flex | Apply two to three thin coats |
If the base fabric is torn, rotten, or has lost its stitching strength, fillers cannot hold. Replace the panel or cover.
Foam that has crumbled or compressed cannot support the cover. Surface repair will not restore seat geometry.
When damage exceeds roughly the size of an open hand, material and labor for a full repair approach the cost of a replacement cover.
Do not repair across seams within airbag deployment areas or along seatbelt paths. Seam structure controls deployment behavior, so original panels should be replaced.
Repairing a surface is a response to a material limitation. The more effective control is to specify a material whose formulation resists cracking from the start. The following test methods are commonly referenced when comparing PVC leather grades, and each one maps to a specific failure mode discussed above.
| Property | Common test reference | Failure mode predicted | Why it matters |
|---|---|---|---|
| Flex resistance | ISO 7854 flexing test for coated fabrics | Cracking at bolsters, armrests, seams | Simulates repeated bending of coated surface |
| Low-temperature crack resistance | ISO 4675 cold bend test | Embrittlement in cold storage or winter use | Indicates plasticizer system performance |
| Abrasion resistance | ISO 12947 Martindale method | Surface wear-through and gloss loss | Predicts life under sitting and entry contact |
| Coating adhesion | ISO 2411 coating adhesion test | Peeling and delamination | Measures bond between coating and textile |
| Tear strength | ISO 4674-1 | Tears propagating from stitching holes | Reflects base fabric and coating reinforcement |
| Light fastness and aging | ISO 105-B02 xenon arc | Fading, chalking, surface hardening | Critical for vehicle interiors and bright rooms |
| Hydrolysis resistance | Humid aging (jungle test) protocols | Sticky or flaking top coat | Important for humid regions and marine use |
| Rub fastness | Color rub tests for dry and wet conditions | Color transfer onto clothing | Relevant for light-colored upholstery |
Typical specification targets vary by application. Residential sofa grades are commonly specified for Martindale abrasion cycles in the tens of thousands, while automotive and commercial seating grades are specified for higher cycle counts, higher flex cycle counts, and stricter cold-crack and light aging requirements. Always confirm that the stated test method and the target value match the intended end use.
Low-volatility, higher-molecular-weight plasticizers migrate more slowly. Anti-migration additives and compatible top coats further reduce plasticizer transfer into adjacent materials.
Heat stabilizers neutralize hydrogen chloride released at elevated temperature, while UV absorbers and hindered amine light stabilizers slow photo-oxidation of the PVC layer.
Cross-linked polyurethane top coats resist abrasion, hydrolysis, and cosmetic or oil contact better than single-component finishes, and they keep plasticizer within the PVC layer.
Knitted backing gives stretch and conformity for curved sofa arms and seat bolsters, while woven and dense non-woven backings give higher dimensional stability for flat panels.
| Property | PVC synthetic leather | PU synthetic leather | Genuine leather |
|---|---|---|---|
| Water and stain resistance | Very high, non-porous surface | High | Moderate, depends on finish |
| Abrasion resistance | High with suitable top coat | High to very high | Moderate to high |
| Surface softness | Medium to soft | Soft, leather-like | Soft, natural |
| Hydrolysis resistance | Very good | Depends on PU chemistry | Good |
| Cleaning effort | Low, wipe clean | Low | Higher, needs conditioners |
| Repairability | Good with flexible fillers and coatings | Good | Good, specialist methods |
| Cost per square meter | Lower | Medium | Higher |
| Consistency across rolls | High, uniform production | High | Variable, natural hide |
Each end use stresses the material differently. The grade selection below matches the dominant stress to the property that should be prioritized.
Priority: coating adhesion, abrasion resistance, and surface feel. Armrests and seat fronts experience the most flexing and contact.
Priority: UV and heat stability, cold-crack resistance, and low fogging. Dashboards and seat bolsters face the strongest light and temperature extremes.
Priority: abrasion, flame performance where required, and cleanability. Frequent use and disinfecting routines shorten the life of weak top coats.
Priority: flex fatigue, edge strength, and color rub fastness. Handles, folds, and corners concentrate stress in small areas.
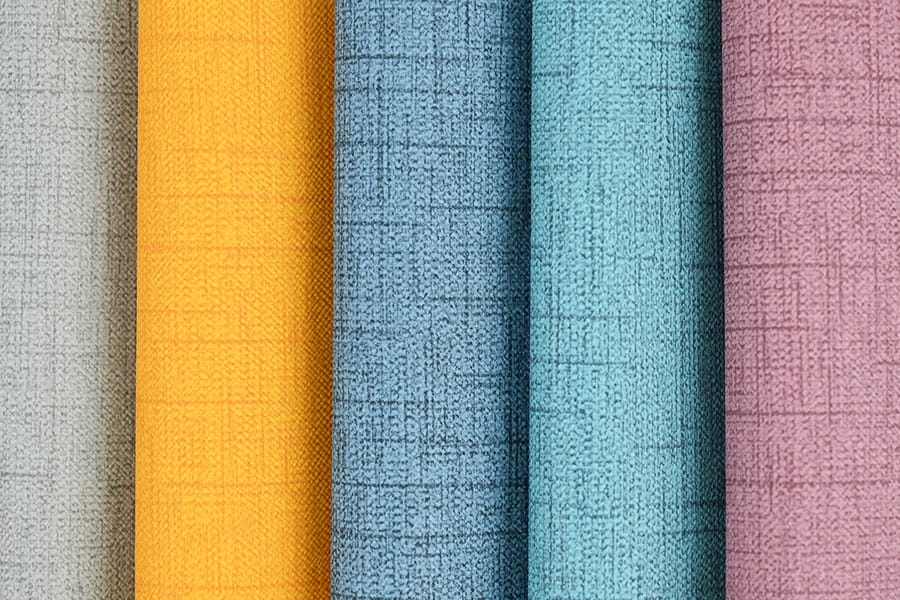 Anti-Peeling Durable PVC/PU Synthetic Leather for Sofa UpholsteryReinforced coating-to-fabric bonding addresses the curled-flake peeling pattern described above, suited to upholstery that sees years of daily contact.View Product →
Where peeling is the dominant failure, coating-to-textile adhesion is the first parameter to verify. A higher bond strength between the PVC layer and the base fabric slows the lifting of surface film along seams and edges.
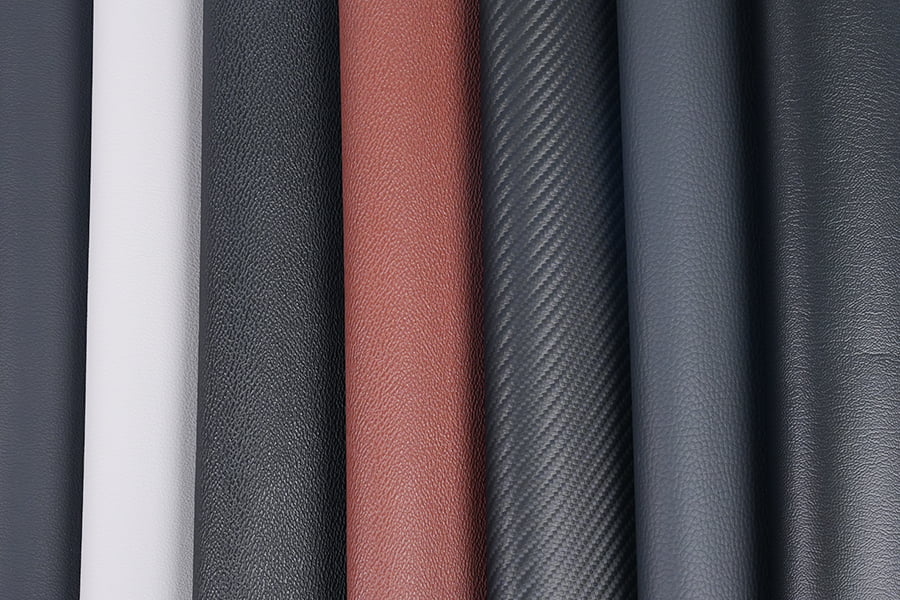 High Wear-Resistant PVC/PU Car Interior Leather with UV and Abrasion ProtectionA dense base fabric and proven abrasion resistance suit frequent entry and exit contact in demanding vehicle interiors.View Product →
For vehicle interiors, abrasion resistance and UV stability matter more than softness. Dense backing and a stabilized top coat reduce the wear that starts at seat bolsters and door-side edges.
 Stain-Resistant Breathable Artificial Leather for Modern Sofa UpholsteryA breathable, stain-resistant finish simplifies cleaning and limits oil buildup on daily-use living room furniture.View Product →
For living room furniture in daily use, a stain-resistant finish keeps cleaning simple, which limits the oil accumulation that accelerates plasticizer loss.
PVC leather is produced to a defined specification, and the following parameters are normally agreed before production. Clear specification of each one reduces variation between batches and gives the end product a predictable repair and aging profile.
| Parameter | Typical range or options | Effect on performance |
|---|---|---|
| Total thickness | Approximately 0.6 to 1.4 mm | Affects feel, durability, and cutting behavior |
| Roll width | Commonly 137 to 140 cm, other widths on request | Determines cutting yield for upholstery patterns |
| Base fabric | Knitted, woven, or non-woven polyester or blended textile | Controls stretch, tear strength, and dimensional stability |
| Surface emboss | Lychee, litchi, nappa, crocodile, fine pebble, custom patterns | Controls visual depth and how well repairs blend |
| Top coat | Standard, abrasion resistant, anti-stain, anti-microbial, UV stabilized | Controls wear, cleaning ease, and aging |
| Color | Pantone or sample matching with defined tolerance | Ensures consistency across production runs |
| Special finishes | Flame retardant, low-VOC, cold-crack grade | Meets regional, automotive, or contract requirements |
Batch-to-batch color tolerance and gloss readings are verified against an approved standard, which also makes future repair color matching easier.
Emboss depth and repeat accuracy determine how well a repaired area can be textured to match the surrounding grain.
Anti-scratch, anti-fingerprint, and anti-microbial treatments are applied as part of the top coat system and can be combined with UV protection.
A repaired surface lives in the same environment that caused the original failure. A routine that limits UV, heat, abrasive dust, and body oil extends the life of both original and repaired areas.
| Frequency | Action | Benefit |
|---|---|---|
| Weekly | Wipe with a slightly damp microfiber cloth and dust the seams | Prevents abrasion by dust particles |
| Monthly | Vacuum under cushions and inspect edges | Detects early crazing |
| Every 2 to 3 months | Deep clean with the soap-and-water sequence, then dry fully | Removes body oils that accelerate plasticizer loss |
| Every 3 to 4 months | Apply a water-based vinyl conditioner or UV protectant | Reduces UV damage and surface friction |
| Twice a year | Rotate cushions and reposition away from direct sun | Balances light and wear exposure |
| Annually | Inspect seams, edges, and bolsters closely | Finds small cracks while repairs are simple |
The chart below compares the surface condition index of the same PVC leather grade over eight years under a maintained routine and under no regular care. Values are illustrative and show the relative trend rather than a measured result for a specific product.
Surface condition index (100 = new) over eight years for two identical PVC leather sofas with different care routines.
Durability expectations and the test methods behind them are covered in our guide to how long PVC leather lasts.
No. Oil stays on the surface, attracts dust, and does not re-plasticize the PVC layer. Some oils loosen the top coat. A water-based vinyl conditioner is the correct product for routine care, and nothing should be applied immediately before a repair.
Vinegar can dull the finish, and baking soda is abrasive enough to leave micro-scratches. A neutral dish soap solution cleans the surface without either risk.
A clean repair with flexible filler lasts about as long as the surrounding material. If the material around the patch has lost a large share of its plasticizer, a new crack often forms just outside the repaired zone within one to two years, which indicates the material grade is near the end of its service life.
Allow 24 hours for full cure, and 48 hours for repairs on heavily flexed areas such as seat cushions. Some color coatings can transfer onto clothing during the first hours, so allow extra time before normal use.
Only on the lowest setting, to re-emboss texture into filler or soften a stiff edge before filling. High heat accelerates plasticizer loss and can scorch the top coat, leaving a darker, harder patch.
No. A repaired coating is not equivalent to an unaged factory coating, and the base fabric remains the main source of strength. A well-executed repair still allows normal use for years.
Test matte, satin, and gloss top coats on a hidden area. Most original PVC leather finishes are close to satin, and two thin coats of satin usually blend with the factory surface.
Yes, when possible. Clean and degrease the entire panel, then recolor it as one surface. Painting only a small patch leaves a visible edge, while a full-panel coat hides small differences in sheen.
Four formulation features matter most: a low-migration plasticizer system, an effective heat and UV stabilizer package, a cross-linked top coat, and strong coating-to-textile adhesion. Test reports for flex resistance, cold-crack resistance, and light aging show whether those features are present.
The Versatility of Sofa Artificial Leather in Different Home Decor Styles Sofa artificial leather has gained significant popularity as a material for home furniture, owing to its impressive versatilit...
View MoreIntroduction to Synthetic Leather What is Synthetic Leather? Definition and overview: Synthetic leather, also known as faux leather, vegan leather, or artificial leather, is a man-made material desig...
View MorePVC (Polyvinyl Chloride) and PU (Polyurethane) are two popular materials used in the production of automotive synthetic leather, each with its unique characteristics. Below are the key differences: Ma...
View MoreIntroduction of Synthetic Leather for Shoes What Is Synthetic Leather? Synthetic leather refers to any man-made material designed to imitate the appearance, texture, and qualities of genuine leather. ...
View MoreCopyright © Fu'an Synthetic Materials Co.,Ltd. Rights Reserved.
 Privacy
Custom PVC Synthetic/Artificial Leather Manufacturers